Whether you want the hand-held look for your shots or you want a butter-smooth glide, make your choice and make it work. Here’s how.
By Stephen Dawson
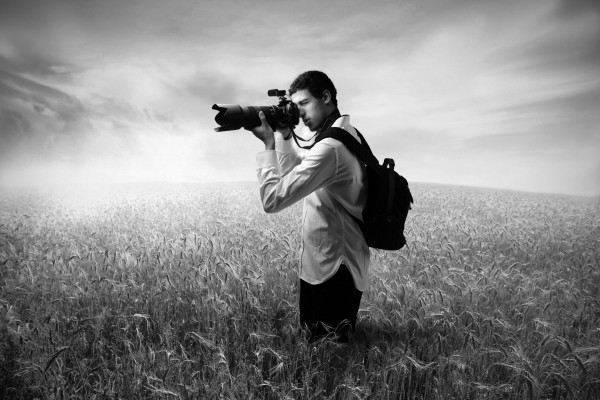
There was a time when jittery cinematography was regarded as an innovative artistic advance in cinematography. The so-called documentary look, aka Shaky Cam, made its way from low-cost experimental offerings to blockbuster feature films. The Bourne Supremacy probably did it best. But we can’t all be Oliver Wood, and most content creators want to go the other direction. Rather than replicating a cheap look using expensive gear, looking expensive on a budget!
For decades, cinematographers laid tracks for enormous wheeled camera rigs, allowing smooth movement of the camera and thus the image. But without a dedicated crew and a few full trucks, that’s slow, cumbersome and prohibitively expensive. But change was in the air in 1975, when Garrett Brown created the Steadicam. This revolutionary device took the operator off the leash. They could move freely – run, even, while keeping the camera stable.
With this new way of stabilising the image, the operator could move, even to the point of following the subject up stairs (Rocky) or conduct lengthy tracking shots in a crowded environment – see Bound for Glory the first actual cinematic use of Steadicam.
So, how does image stabilisation work?
Pretty well all systems work in fundamentally the same way, although there are many variations on the theme, and some important enhancements.
All of them have two parts. First, there’s a rig to which the camera is fixed that allows it to move freely and smoothly, but which irons out the little jittery movements and rotations of the camera. Second, there’s an arm between the rig and the operator’s body to support the weight of the rig and to iron out the larger bumps in the operator’s movements.
The rig is usually an iron rod with weights at the bottom and some kind of universal joint from which it is supported. The increased weight of the whole system over the weight of the camera itself reduces small physical vibrations and jiggles all by itself. The weights at the bottom keep the camera upright.
The whole contraption is balanced so that the center of mass is only a little below the point at which the rig is supported. This means it can be moved left and right and forwards and backwards without changing the direction in which the camera is pointing.
Within those constraints, the camera needs the ability to be swing in any direction to follow the subject, so the operator makes use of the handle setup on the steadicam which is attached (with no moving parts) to the camera or the base plate.
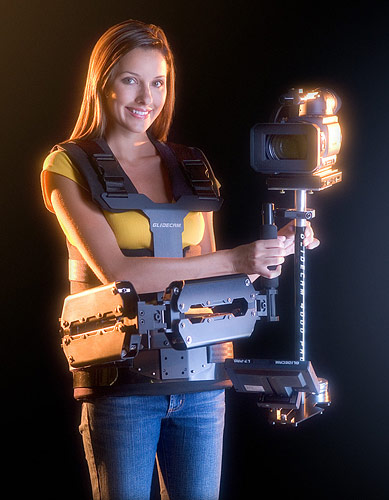
As for the arm (which supports the rig and isolates it from the operator’s body), there are two clear types. One type is mechanical, as in the original Steadicam, and most of the higher models. These use exceptionally clever arrangements of hinges and springs to isolated the rig from the operator’s movements. He or she can mount stairs, yet the rig just ascends on a smooth straight line. These arms are attached to a harness worn by the operator so that the weight of the rig and the arm is born by the whole body rather than his or her arms.
The other type of arm, used in lower cost stabilisers, is the operator’s own arm. If the weight of the rig is not too much, but its design irons out the smaller jitters, then with practice people can get extremely good at keeping their hands reasonably steady while their body is moving – walking, going up stairs, possibly even running.
The original Steadicam was pretty large and needed the arm and the harness because in those days any camera with any pretension to cinematic quality was big. And with them came price tags to match.
These days, though, that kind of quality is available in quality digital video cameras and DLSRs weighing from less than one, to just a few kilograms, so the range of image stabilisation devices had broadened enormously over years. One of the most important specifications to look at with any system is the weight for which it is designed. All the weight. It may not just be the camera that’s mounted. There may also be peripherals, such as off-camera monitors, lighting, microphones and such. The rigs come with weights that can only balance for a specified range of weights.
The final part of any such system is the most important of all: the operator. He or she has to frame a continuously changing shot, while maintaining camera stability in a sometimes unwieldy rig, and walk, run, climb stairs, descend stairs and dodge obstacles. All at the same time. Camera operator injuries are by no means rare. So, as we outline a few of the products available, keep in mind that your video stabilisation system will only be as good as you can be. It will be up to you to practice and learn the available settings and achieve mastery if you want a truly smooth look.
Or even take one of the courses available from vendors of camera stabilisation systems. The three day Steadicam Silver Workshop, for example, is AU$1,500.


STEADICAM
The original remains the industry standard, but things have come a long way indeed since 1975, with the company catering for just about all product categories. Including even the $US99 Steadicam Curve, created specifically for the GoPro action camera. Let’s look at a few.
At the more general entry level ($US499) is the Steadicam Solo, a handheld rig, suitable for camera loads up to 4.5 kilograms. This is yet to hit Australia, but expect first quarter 2014 and prices very roughly 20% higher than the US dollar (remember: freight, GST, after market support).
For pros there’s the $US9,995 Steadicam Zephyr, suitable for loads up to nine kilograms, which comes with ‘Iso-Elastic Stabilizer Arm’ and vest. If you’re up at this level, or the next, contact lemac.com.au for pricing.
Or if you’ve saved up a house deposit but you’ve bored of looking at the property pages, there’s always the affordable Steadicam Ultra 2. It costs $US47,500, and handles loads up to 22 kilograms.
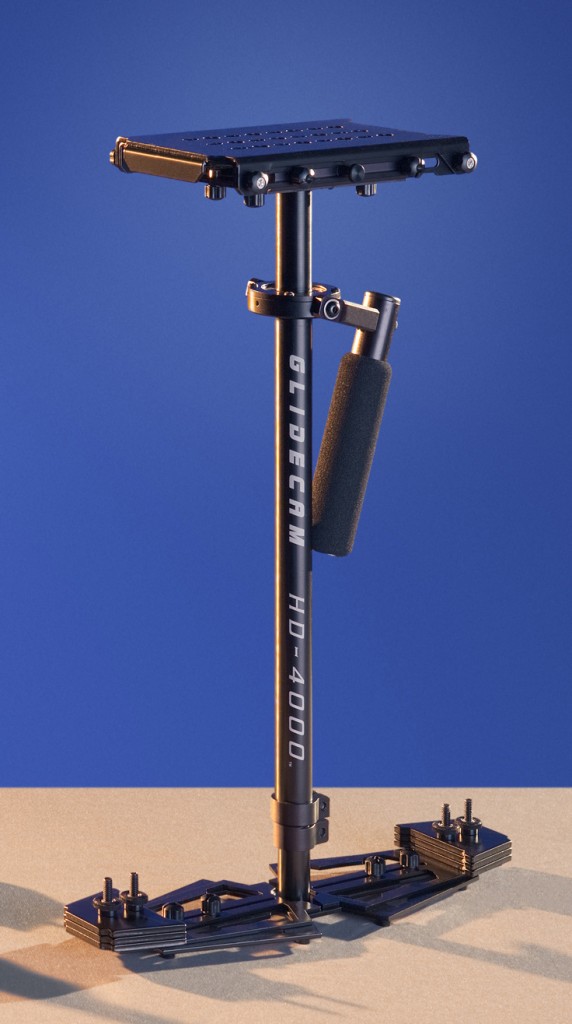
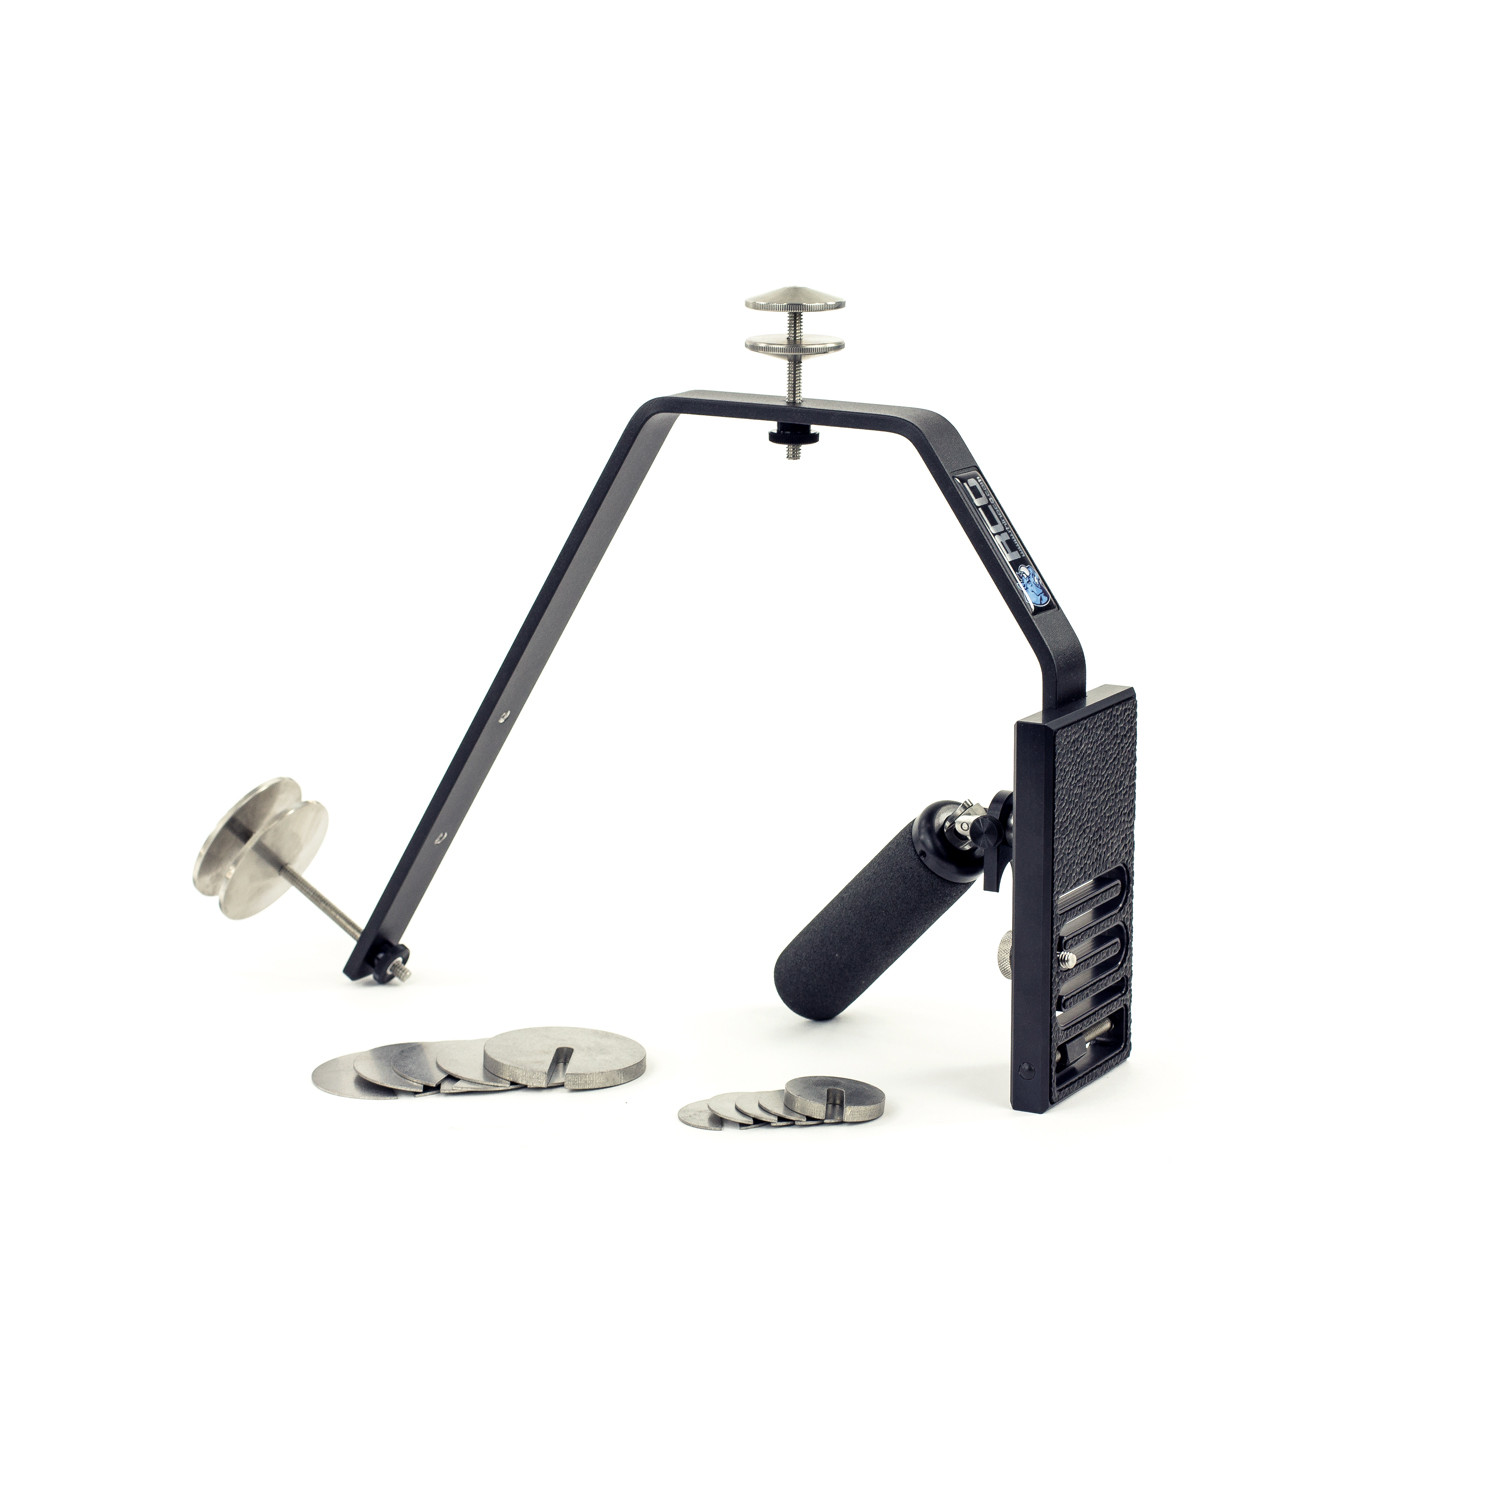
Glidecam HD-4000
GLIDECAM
For finer granularity at the lower end you can look to another big player in the field, Glidecam. The HD-1000, HD-2000 and HD-4000 are designed, respectively, for up to 1.35kg, 0.9 to 2.7kg and 1.8 to 4.5kg, and are priced at $US449 (AU$579), $US549 (AU$649) and $US649 (AU$779). The HD-4000 can be enhanced with vest & arm add-ons such as the X-10 ($US2,399; AU$2,995) for full blown stabilisation for cameras up to 4.5kg.

OTHERS
While physics and gravity remain the same, there are new approaches to solving the same problems. The Rhino Steady from a three-year-old US startup is a highly simplified lower cost ($US325 – you’re going to have to buy from the US for this one) handheld stabiliser, suitable for weights of between 0.9 and 1.8 kilograms.
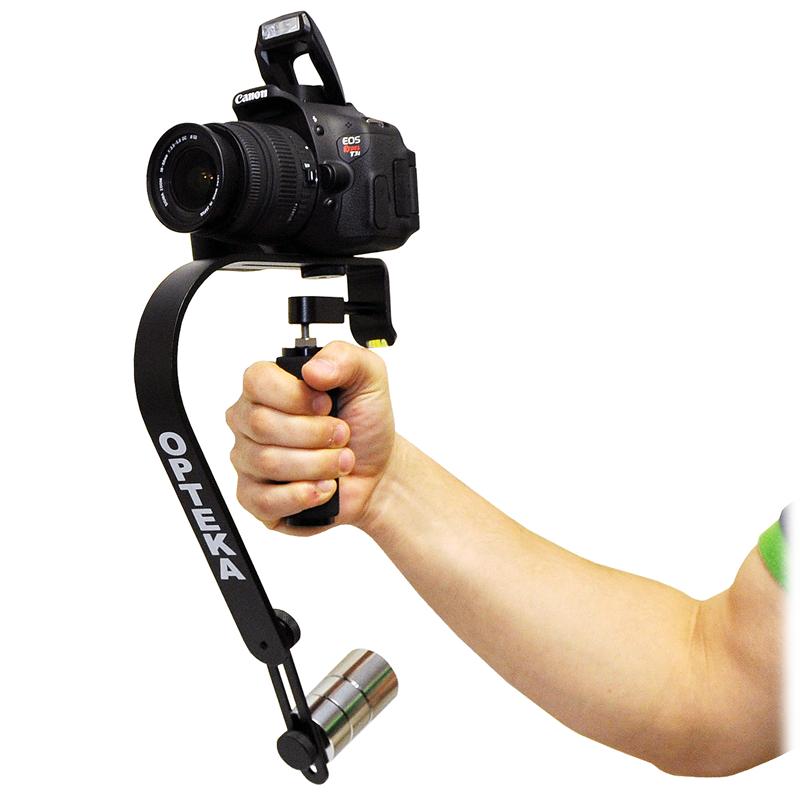
Let’s go even less expensive. The Opteka SteadyVID Camera Stabilising Support is available for less than $90 and handled camera up to 1.58kg.
Or you can try DIY! Consult Youtube (‘diy camera stabilizer’) and you will see several ultra-cheap ways of making your own. Some look like fun, and may even be reasonably effective. You will be engineering specifically for your own camera. Just make sure you build it well and secure your precious cargo well. Not even a steadicam can make the shot look smooth if the lens is broken!
- Rhino: http://www.rhinocameragear.com/
- Steadicam: http://www.lemac.com.au/
- Glidecam: http://www.videoguys.com.au/
- Opteka: http://www.ryda.com.au/