
Shooting live sports action in the field isn’t as easy as it looks on TV and on XGames videos. But a few simple pointers will have you skating, riding and climbing with the best of them. And, with a bit of luck, your camera will live to tell the tale.
Story by Anthony Gordon
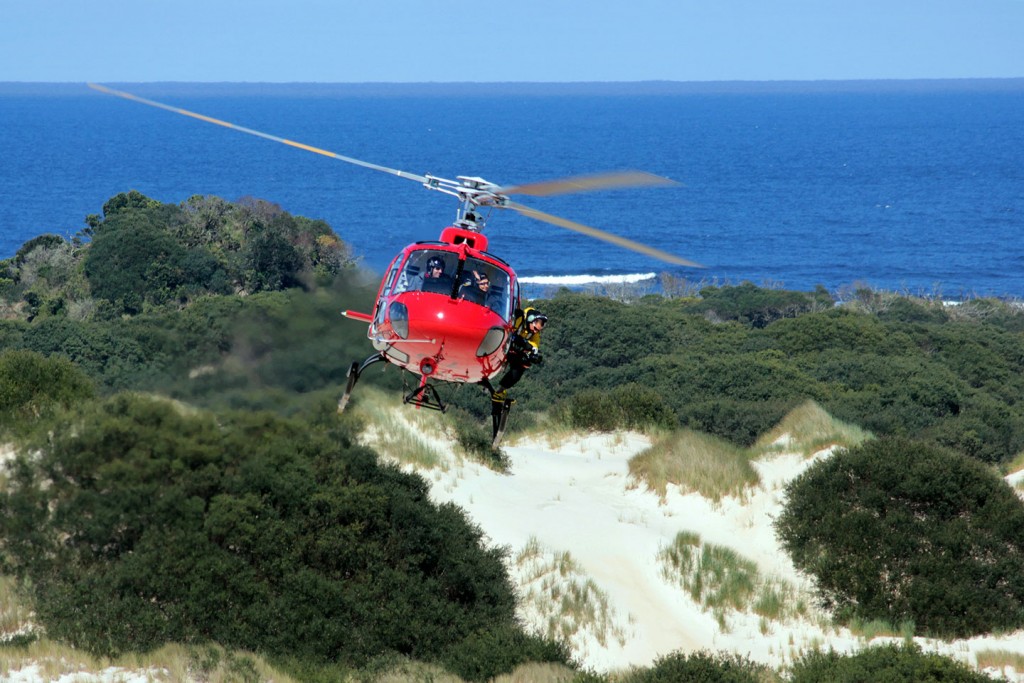
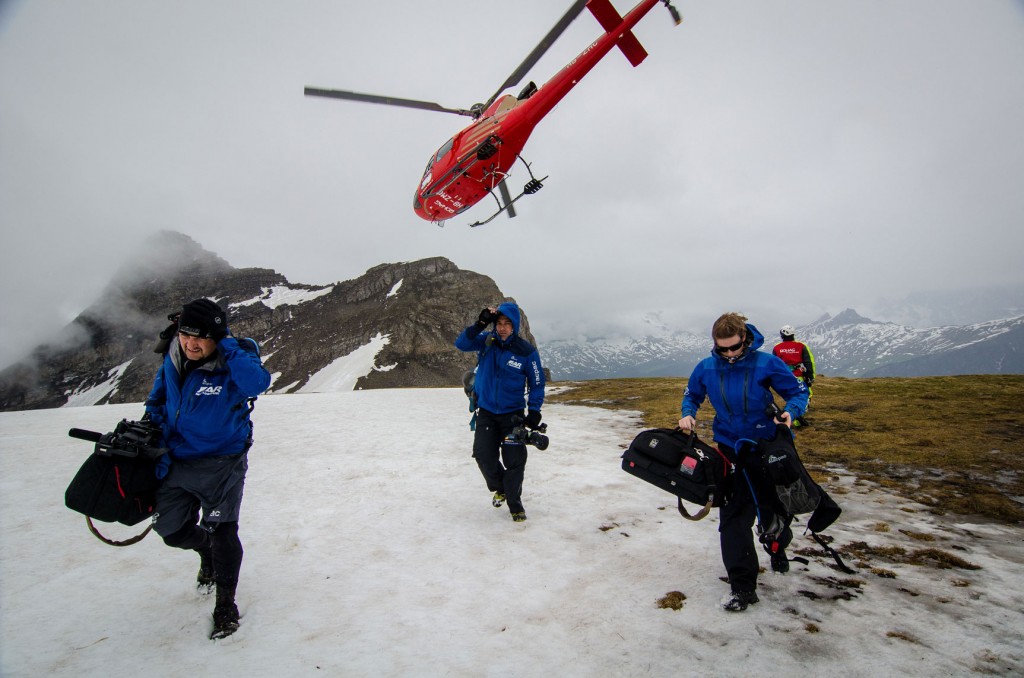
As far as jobs go, mine isn’t a bad one. Here I find myself and my colleagues in yet another exotic location, running around with our gear and our vision trying like anything to make some videos good enough to do justice to the feats of insane daring that are playing out in front of us on motorbikes.
We’re on the set of Crusty Demons of Dirt, and we’re having a whale of a time with a load of seriously cool toys – GoPros, Contour HDs, DRIFTs and a vast array of all things HD and mini. Add to this a generous handful of XD Cam broadcast beasts, a raft of Sony EX1’s and we’re starting to look quite the circus.
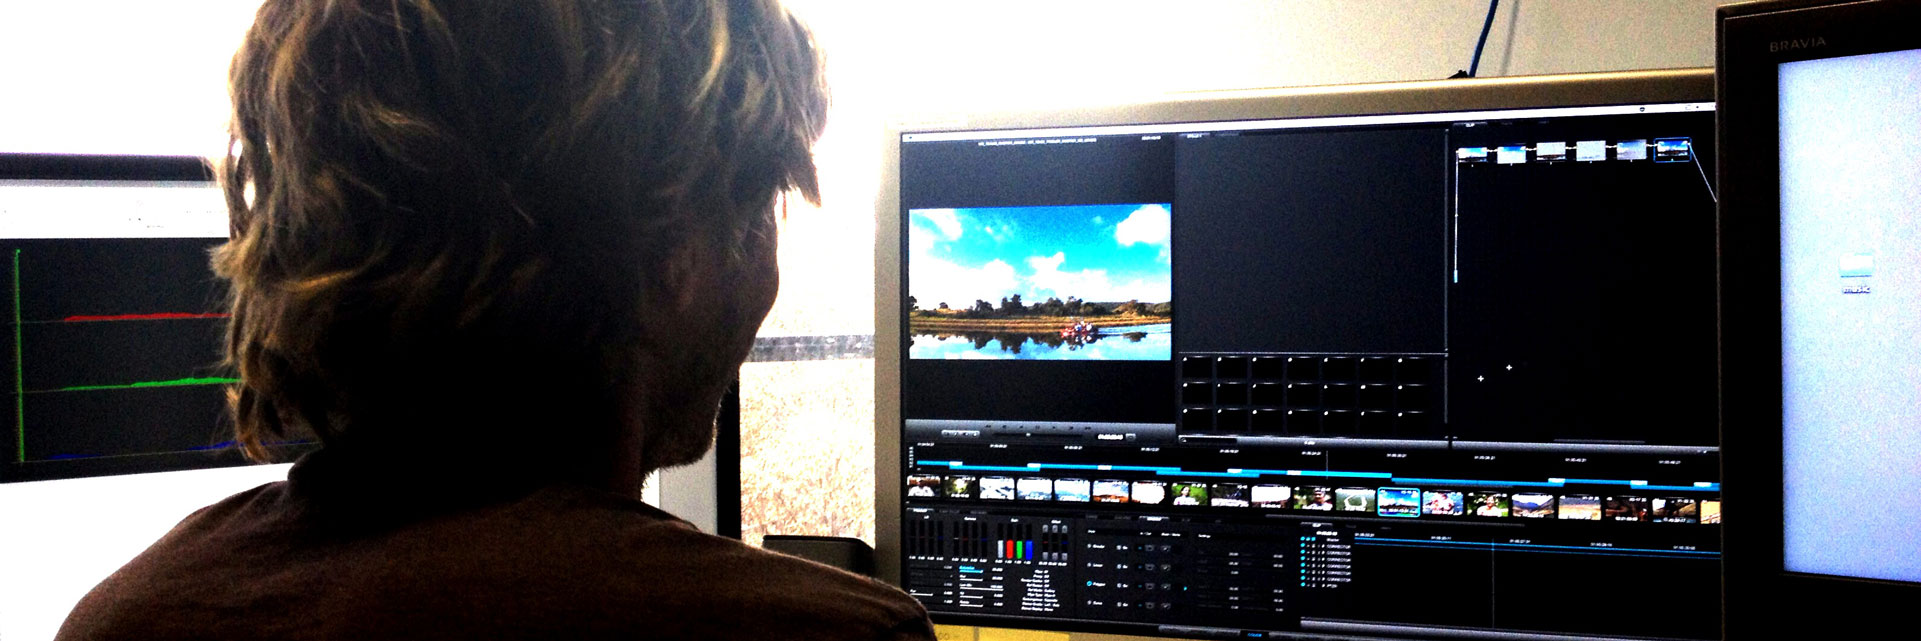
And that’s just the camera department. Back of house, surrounded by thousands of metres of coax cable, wires and flashing lights the post team work away, all managed by Final Cut 7.
Our days are a blur. Shoot the show, cut it, distribute it, send out media feeds and move on. Next up is shooting behind the scenes of the US Open and the Davis Cup in Australia for Lleyton Hewitt, before packing our bags again for our next gig – filming our Wild Racers series. Following the most extreme athletes on the planet in the Adventure Racing World Series.
What do all of these events have in common? Aside from their diverse variety of action and sport, they all require the same skill set to shoot, and an attention to detail that isn’t immediately obvious when watching the finished product on TV.
In todays world of extremely accessible and cost effective video equipment, there is one thing that remains as difficult to get hold of as it ever has. A good story.
But in the interests of getting the best possible chance of making the story sing on screen like it does in your head, it’s important to get the tools right. What follows are my top tips for achieving excellence in action sport shooting.
PRE PRODUCTION
1. Structure – plan the beginning, middle and end of the piece you are looking to create. This will give you a structure that you can start to build around.
2. Permission – get it. Even the most obscure locations are governed by someone, so enquire and get the right clearances. For the majority of sports content there are also rights holders
that won’t allow you to film or use the content unless pre-approved or paid for.
3. Clearance – draw up clearance forms for the people you are planning to film <before> you shoot. Even the best of mates can come knocking with a hand looking for cash if the project becomes successful.
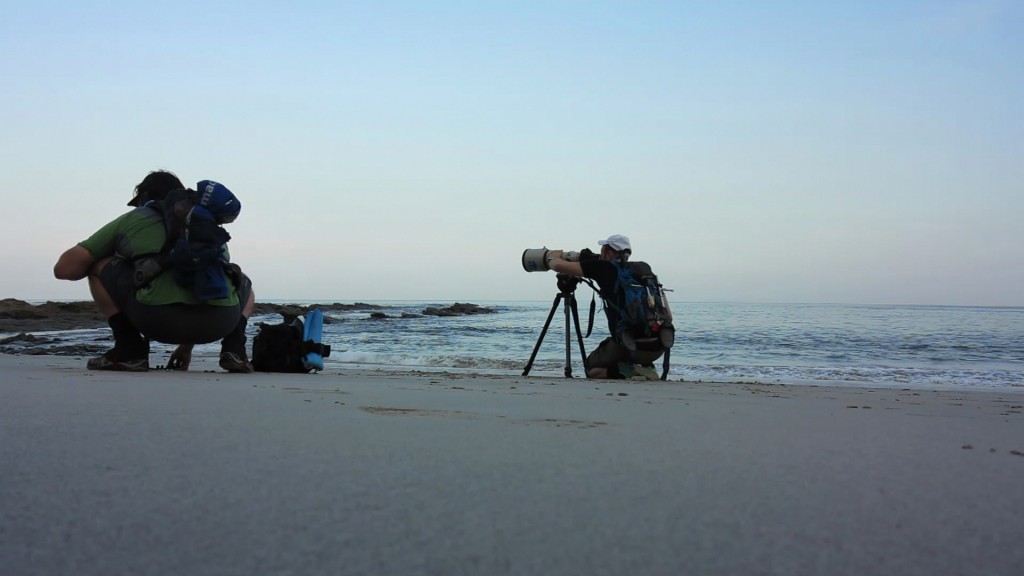
4. Coverage – plan your required shot angles before you begin. Think about the kind of coverage you want the final product to feature. Will any of this require gear that’s not already in your kit? Break down shot-lists into Action and what we call ‘B roll’. ‘B roll’ is the content that goes between the main action shots. Things like cut-away close ups, scenery and time-lapses etc, that can go between the major action footage of the edit to make sure it is not just one long action sequence.
Tip: you can purchase royalty-free B roll from places like www.pond5.com very cost-effectively.
5. Gear – write down the list of gear required to film for the duration you are looking at. Remember that you could be away from storage for a long time, and plan to have excess data space. It’s also easy to overlook the all-important power requirements. You can never have too many batteries!
6. Transport and Communications – plan your transport during the shoot, and plan how you’re going to communicate with a second unit if you have one. Sporting arenas are a flow with different channels and frequencies, so make sure your radios and/or mobile phones can be heard above the noise.
7. Sound – source and plan your audio. Sound problems can ruin the final product, just as great audio will set you aside from your competition. Music needs to be licence free, there are a number of excellent sources for this (such as www.opuzz.com) that have very cost effective libraries.
Atmospheric sound, or ‘atmos’ is also crucial to a good mix – crowd noise, engines, tackles etc. Even just the hum of a fridge. Have a good think and test of your mic set-up. Poor sounding interviews drastically lower the production value of the finished product.

8. Format – The first and most important consideration is where your final product will end up screening. I’ve heard it said many times that “if it’s only going online then there’s no need to shoot HD” but this can be leave you in trouble. These days everything can be viewed in HD if the viewer is given the option – so always go for the highest quality level that you are able to obtain from all your cameras. There’s not much point in having some footage in HD and the rest in SD, as your final product will only benefit from the majority rules formula.
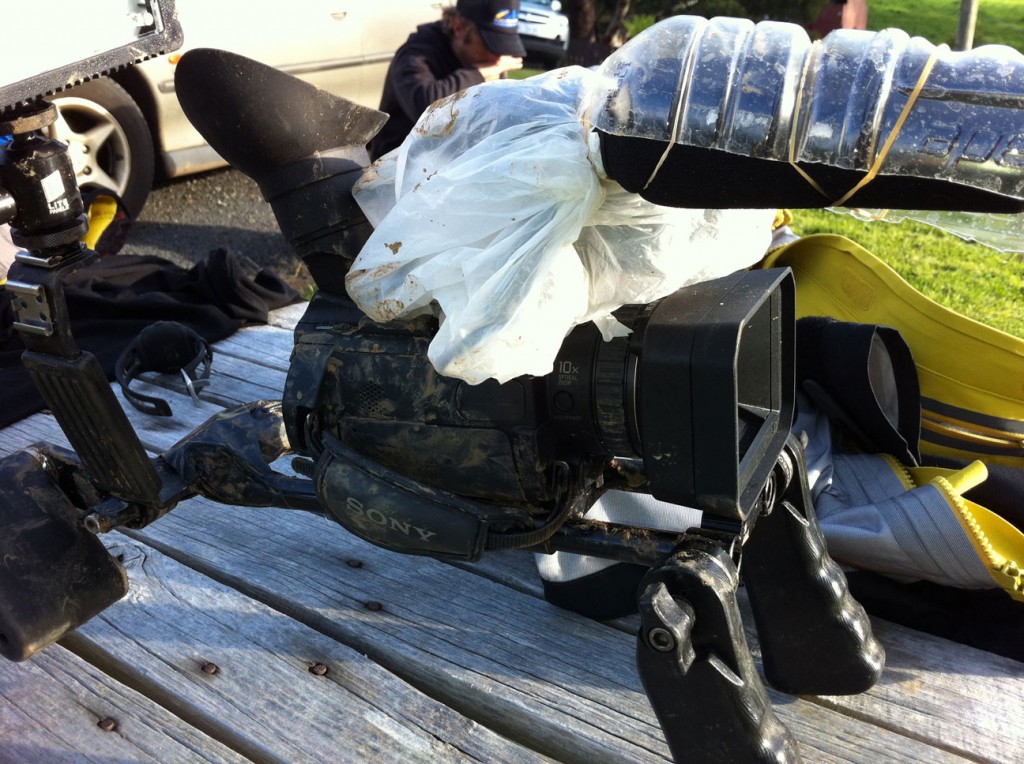
9. Bags – all the best equipment is useless unless it can be easily accessed and distributed in the field. The major failure of action sports shooters is forgetting the luggage allowances of aircraft and what can (and cannot!) be taken on board. At best, you’ll be shelling out serious cash at the check-in counter. At worst, you’ll have your kit destroyed on arrival. It happens! A good idea is to make sure you have a list of local suppliers in every location you shoot.
Now that you have all the pre-production elements in hand and you have worked out your crew, here is a look at a typical kit that we would take out for our HD shoots. Alongside this, we’ll also take a look at what could be modified for shooting on a budget.
Remember: if you have to make one thing a priority it is sound! Images can be fixed and changed. Sound can’t.
KEY TIPS FOR SHARP SHOOTING:
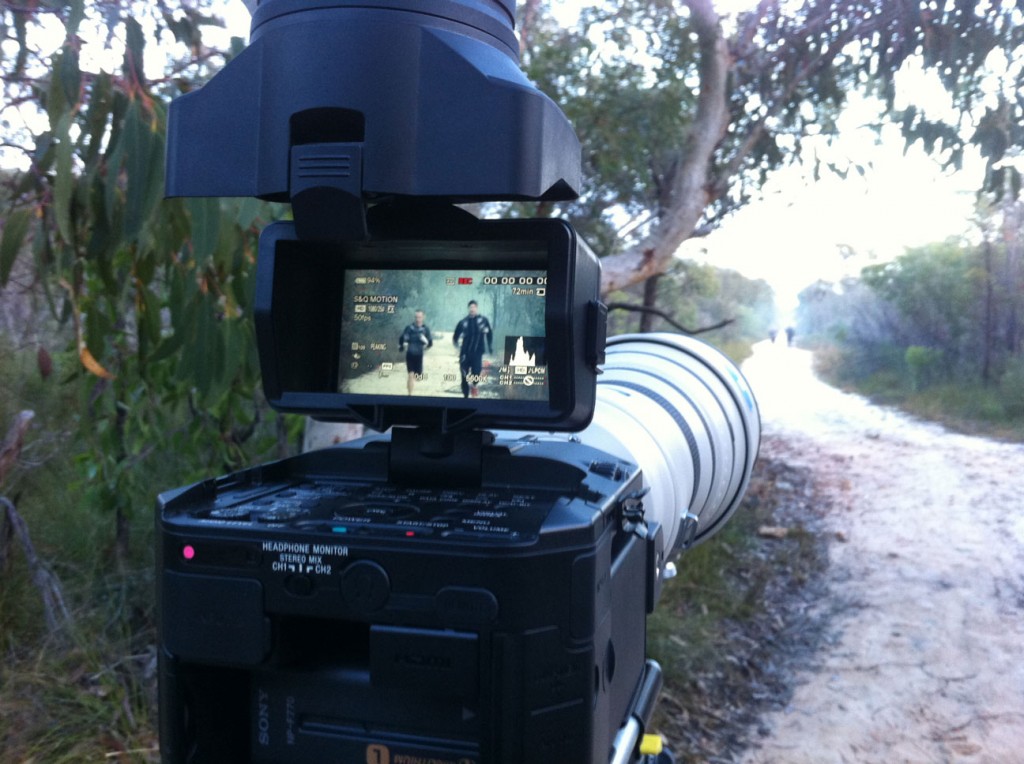
1. Don’t zoom in the shot. Pic a focal range and let the action happen through the shot – we never use zoom lenses.
2. Film the action first, then try and re-shoot parts close up and from a POV. This will allow you to add multiple feels to the one sequence and heighten your production value
3. Get permissions to film from unusual spots – other crews won’t be there and you just might get a unique angle or view of the action.
4. Try cut glare from your camera by using a towel over your head and camera – this is a really cheap and effective technique that allows you to get accurate exposure and focus.
5. Don’t worry if you miss a shot. Get ready again and work towards the next one – action happens quickly and you will always have another chance if you have planned your approach
6. Try not to shoot directly into the sun, it will damage the camera sensor.

| PRO | BUDGET |
| GoPro Hero 3 | GoPro Silver Edition |
| DRIFT GHOST HD | DRIFT HD or ION Camera |
| Canon c100 | Canon XA20 |
| Canon 1D C | Canon 7D |
| Canon 5D MK III | Canon 6D |
| Canon L Series Lenses (14 through to 400mm, Closest to F1.2 as possible as you will benefit from sharper sporting images.You’re better with one great lens than3 average ones) | Sigma Lens Equivalent (Best Optics Available) |
| DJI Phantom Quad Copter with Gimble Stabilisation (Good option for a Gimble Stabiliser are the small Glidecam & The Pod (http://thepod.ca/) | DJI Phantom Standard without Gimble |
| Tripod With Fluid Video Head | Any tripod – nothing is worse that a shakyimage! |
| ZACUTO Camera Viewfinders | Towel over the camera to cut out glare |
| Memory Cards (up to 100mbs) | Memory cards with a minimum of Class 10 (or you will have recoding issues.) |
|
|
GEAR MINIMUMS
1. Portable Hard Drives with a minimum of 500gb.
2. Storage and write speed of 7200rpm – this will also allow you to log and edit your footage without lag or loosing frames. There are a great deal of cheaper options, but like with most things in life, with hard drives you do get what you pay for. We use 100% LACIE RUGGED drives in the field.
POST PRODUCTION AND DELIVERY:
1. Plan the expected duration of the edit. Usual broadcasters take 22-24 min (half hour) programs and 44min (one hour) programs. For online, we tend to keep projects within 3min as most viewers will not watch longer.
2. Make sure you have enough storage space on your hard drives, plus an additional 25% for the edit computers CPU to work from, with all the media.
3. Where possible, have two monitors attached to your edit suite. It makes it far quicker to work through all your content
4. Lay your audio down first so you can piece together all the dialogue into a satisfying story, and then add the action and B Roll footage
5. Don’t try and complete the whole edit done in one go. Break down the story elements into small 2 min pieces and get it right gradually
6. At this stage plan how you want to add any graphical elements such as score boards, progress bars and name titles. These all add a crucial element to the final product and can also drastically improve the overall production value
7. Once you have a watchable rough-cut edited, show people and listen to their comments. Take them all on board but don’t change your content for one opinion alone. We have a rule in the studio that we normally only revise a segment if we get the same feedback from 3 people
8. Look at your delivery methods. Once you have your final edit you will need to export it and deliver it in a vast array of formats whether it is for online, TV, mobile etc. We utilise a wonderful (free!) piece of software called MPEG Streamclip (http://www.squared5.com/).
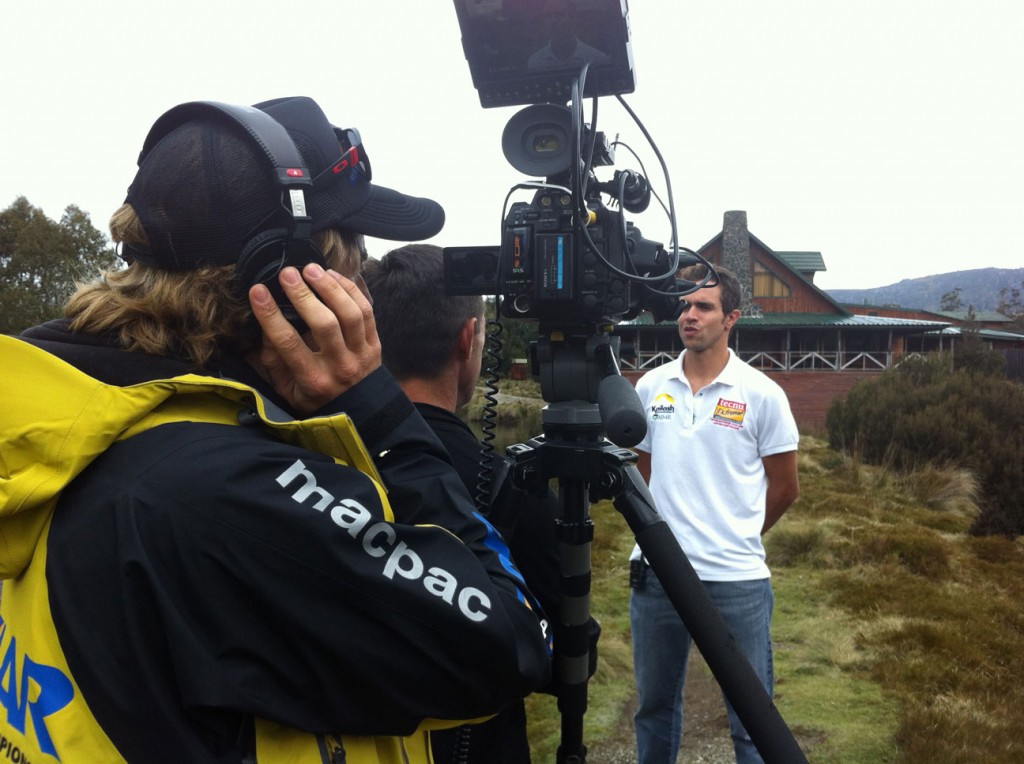
DIALOGUE SCRIPTING:
Here is where you will need to look at what questions and topics you will cover with your athletes, fans and other associated people like managers, referees and spectators, all of whom can play a vita story telling role. Here are some pointers to consider:
1. Use open questions (those that won’t elicit a ‘yes’ or ‘no’ answer)
2. Get the subject to include the question in the answer so you have a reference and is much easier for your editor. If they don’t do that the first time, ask them to repeat the answer, this time including the question
3. Be patient, athletes in the heat of the moment are not always articulate, attentive or helpful!
4. Try and get access to the subjects early so you can send them a list of questions prior to your arrival.
5. Try and get the subject to look straight into the camera (or close to it). This will naturally aim their voice that way which will mean capturing better audio if you’re running and on board mic as well as making the eye line more central.
Remember: Nothing is worse than 100% Action footage or a non-stop talking head. Make sure there is a mix to keep the edit flowing.
Put all of this together and you’ll have yourself a cracking little action video. Simple. The main item that we focus on within all our productions is having fun – if the crew and subjects are happy it really comes across in the film! Once the event is over, all the fans and athletes have to remember it by is what you have created, so put the time in and make it count!
Feel free to shoot me any questions and I’ll do my very best to get back to you.
Keep it in Focus.
Anthony Gordon
You can ask Anthony questions via the V&F Facebook page or email Anthony here.


Reference Links:
Wild Racers: https://vimeo.com/52677807
Next Wave: http://nothinbutshorts.com.au/#project=next-wave
Blood Sweat & Gears: http://nothinbutshorts.com.au/#project=blood-sweat-gears
World Rally (WRC): https://vimeo.com/30115858
MotoGP: https://vimeo.com/30296503